Need to capture your screen on a PC but not sure how? Don’t worry, it’s super easy once you know the tricks. Whether you want to take a screenshot of your entire screen, just a part of it, or even a specific window, I’ll walk you through the steps. And yeah, sometimes it can be confusing—like when you press the keys and nothing happens. Let’s fix that. .
Te recomiendo ver este artículo que es interesante: como aplicar la funcion resta en excel.
First things first: the method you use depends on your PC. If you’re on Windows, there are built-in tools like the Snipping Tool or the classic Print Screen key. On a Mac, it’s all about keyboard shortcuts. I’ll cover both, so no matter what system you’re using, you’ll be snapping screenshots like a pro in no time.
The Fastest Way to Screenshot on Windows
Índice del Contenido
If you just need a quick full-screen capture, the easiest way is hitting the PrtScn (Print Screen) key. It copies everything on your screen to the clipboard, and then you can paste it into Paint, Word, or any other program. But what if you only want to capture one window? Hold Alt + PrtScn, and it’ll grab just the active window.
Sometimes, though, you might want more control. That’s where Windows + Shift + S comes in—it opens the Snipping Tool (or Snip & Sketch in newer versions), letting you select exactly what you want to screenshot.
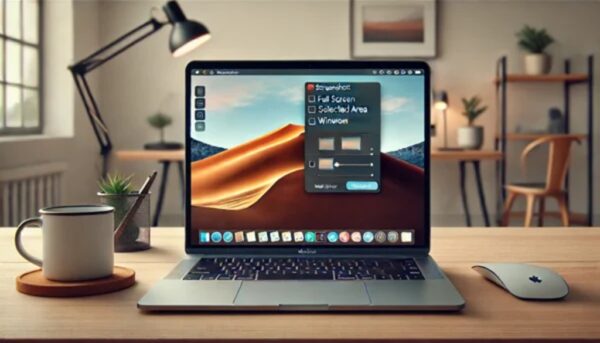
How to Take a Screenshot on Mac (Shortcuts You’ll Love)
Mac users have it even simpler. Press Command + Shift + 3 to capture the whole screen, or Command + Shift + 4 to select a specific area. If you need a screenshot of just one window, hit those same keys, then press the Spacebar—your cursor turns into a camera, and you can click the window you want.
Oh, and if you’re wondering where these screenshots go, by default they save to your desktop. But you can change that in Preferences if you prefer another folder.
What If Print Screen Doesn’t Work?
Yeah, this happens—sometimes the PrtScn key doesn’t do anything. First, check if your keyboard has an Fn (Function) key. Some laptops require you to press Fn + PrtScn instead. If that still doesn’t work, you might need to enable it in your keyboard settings or use the Snipping Tool as a backup.
Saving and Editing Your Screenshots
After you take a screenshot, you’ll usually need to paste it somewhere (like Paint or Photoshop) to save it. But if you’re using Windows + PrtScn, your screenshot automatically saves in the Pictures > Screenshots folder. On Mac, like I said, it goes straight to the desktop.
Want to crop or annotate your screenshot? Windows has the Snipping Tool for basic edits, while Macs come with Preview—just open your screenshot there and use the markup tools.
Third-Party Tools for Better Screenshots
If the built-in options feel too basic, try something like Lightshot (free and super lightweight) or Greenshot (great for adding notes). These let you capture, edit, and share screenshots way faster.
troubleshooting Common Screenshot Problems
- Black screen when capturing? Could be a graphics driver issue—try updating it.
- Screenshot not saving? Check your storage or try a different folder.
- Need to screenshot a scrolling window? Some tools like ShareX (Windows) or Snagit (Mac/Windows) can do that.
Final Tips for Perfect Screenshots
- Use Windows + Shift + S for quick partial captures.
- On Mac, Command + Shift + 5 gives you even more options (like recording your screen).
- If you take a lot of screenshots, organize them in a dedicated folder.
And that’s it! Now you know how to take a screenshot on PC like a pro. No more fumbling around—just quick, easy captures whenever you need them.