
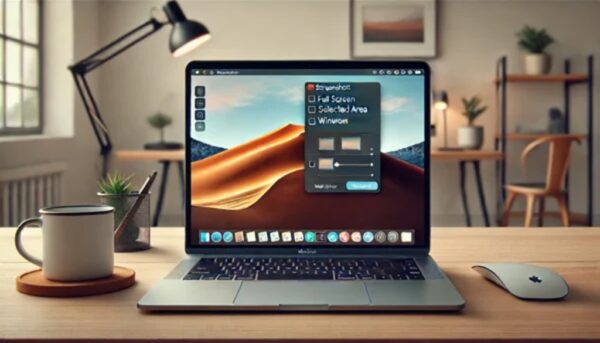
On a Mac, if you press nbsp;Command + Shift + 3 you capture the entire screen instantly. To select an area, use Command + Shift + 4 and drag the cursor. It’s much faster than going around looking for the app<a href="https://support.apple.com/es-us/guide/mac-help/mh26782/mac” target=”_blank” rel=”noreferrer noopener”>.
The trick that almost nobody uses is Command + Shift + 5. That opens a tool complete that lets you set a timer (ideal for capturing dropdown menus), choose whether you want the mouse pointer to appear, and even record a video of what you do on the screen. If you want the screenshot to be saved directly to the clipboard so you can paste it into a chat, add the Control key to any of those shortcuts (for example, Control + Command + Shift + 4). By default, the images are PNG files that can be huge. If you want them to be saved as JPG so they weigh less, you have to open Terminal and type a command, but it’s something you do once and forget.
On Windows, the PrtSc key (Print Screen) still works, but it’s pretty basic: it copies everything you see, even if you have two monitors. A much more useful shortcut is Windows + Shift + S. That opens Snipping Tool (formerly called Snip & Sketch), which lets you select an area freely with the mouse, capture a specific window, or make a rectangular crop.
Windows 11 gave more life to the old Snipping Tool. There you can set a delay of up to 30 seconds, which is perfect for capturing a tooltip that hides or a context menu. If you play games, the Game Bar (Windows + G) works to take screenshots too, and they’re saved automatically in a folder inside “Videos”.
On the iPhone, ever since they removed the home button, the combination is always the same: side button + volume up. The screenshot appears as a thumbnail in the corner. If you tap it, you go straight into the editor to crop or draw. A key detail is that in Safari you can capture the entire web page, not just what’s visible on screen. You tap the thumbnail and select the “Full Page” tab to save everything as a PDF. If an app (like your bank’s) blocks you from taking screenshots, you can use the Record Screen option from Control Center. You record a couple of seconds of video and then take a frame from it. It’s a workaround, but it works.
For Android, things are more chaotic because each manufacturer puts its own spin on it. The almost universal method is volume down + power button. On Samsung phones, you can swipe the side of your hand across the screen as if you were chopping it. It sounds ridiculous, but once you get the hang of it, it’s fast. Some brands, like Google Pixel, have a quick tap on the back of the phone that you can configure to take screenshots. Many also have a button in the quick notifications panel.
If the native tools aren’t enough for you, that’s where third-party apps come in. You don’t need them for everything, but for specific jobs they’re the only option.
To record the screen with audio and webcam, tools like ScreenPal or Loom are unbeatable. ScreenPal is free, doesn’t put a watermark on videos, and lets you record both the screen and your face in a small window, draw on the fly, and even make animated GIFs. Loom is similar and integrates very well with other work apps like Slack. Both are simpler and better designed for tutorials or reporting bugs than the built-in recorder on Mac or Windows.
For quick screenshots with instant editing, Lightshot is a beast. You install it, assign a keyboard shortcut, and in two clicks you select an area, edit it (arrows, text, blurring), and upload it to the internet to share the link. It’s much more agile than having to open Paint or Preview to make a simple crop.
A special case is when you need to capture something from your phone on the computer. Apps like AirDroid Cast or Screen Cast let you “mirror” your Android screen on the PC via WiFi or a USB cable<a href="https://www.airdroid.com/es/screen-mirror/how-to-cast-android-to-pc-mac/” target=”_blank” rel=”noreferrer noopener”>. Once the image is on your monitor, you can use any screenshot method on the computer. This is vital for making guides or tutorials where you need to show the mobile interface in high quality. Some, like AirDroid Cast, even give you control of the phone remotely from the PC. The free Screen Cast app goes one step further: you only need a web browser on the PC to see what’s happening on the phone, which makes it useful for remote technical support.