
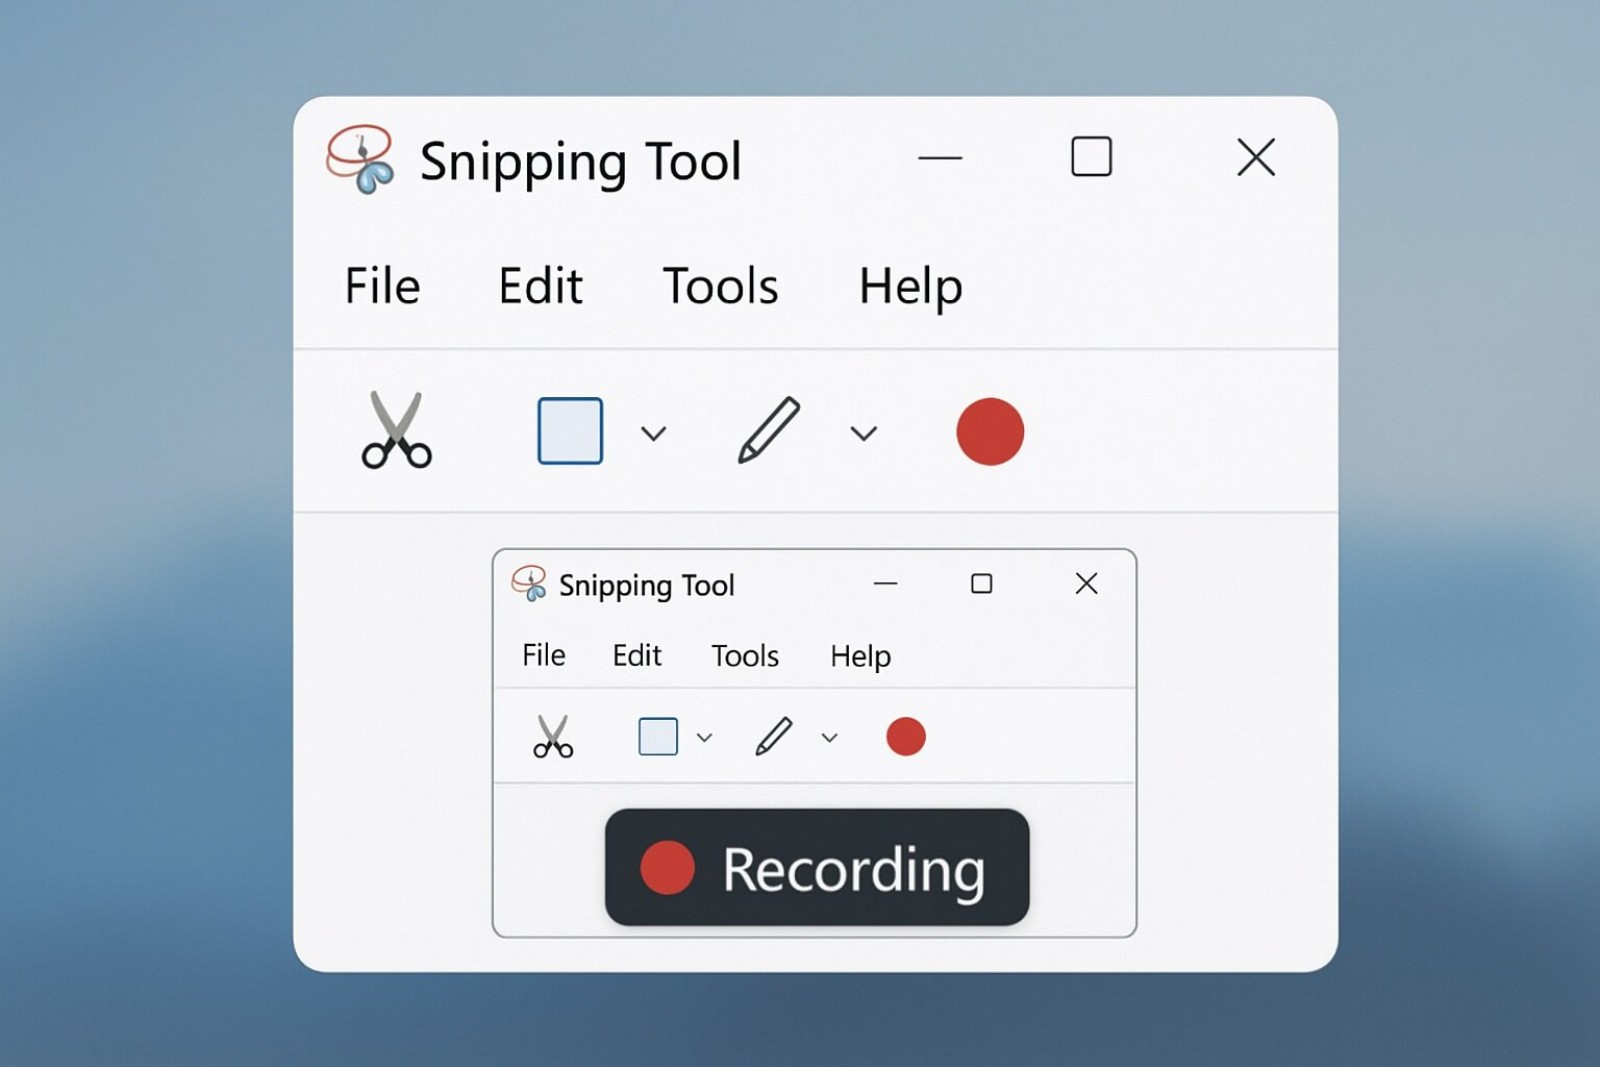
This tool, formerly known as “Snip & Sketch,” was updated in Windows 11 to include screen recording. Here are the steps:
Steps to record the screen with the Snipping Tool in Windows 11:
- Open the Snipping Tool:
- Select the recording mode:
- When the snipping panel opens (with
Win + Shift + S), you’ll see a toolbar of tools at the top of the screen with several options. Click on the option “Record” (the icon of a circle, which is for screen recording). If you don’t see the recording icon, make sure you have the most recent version of the Snipping Tool. - You can also open the Snipping Tool app directly (from the Start menu) and then click the “New” button and select the recording option.
- When the snipping panel opens (with
- Start recording:
- After selecting the recording mode, the screen will dim slightly and you’ll see a recording toolbar. You can choose between:
- Record the entire screen: Click the button that represents the entire screen (a complete rectangle).
- Record a specific area: Click the area button (a rectangle with borders) and then draw a rectangle around the area you want to record.
- After selecting the recording mode, the screen will dim slightly and you’ll see a recording toolbar. You can choose between:
- Recording controls:
- Once you select the area or the full screen, a “Start” button will appear (a red circle). Click it to start recording.
- There’s also a settings button (gear icon) where you can configure:
- Whether you want to record microphone audio.
- Whether you want to record system audio (computer sounds).
- The recording will begin after a 3-second countdown.
- During recording:
- Stop the recording:
- Click the “Stop” button (red square) on the floating toolbar or press
Win + Shift + Sagain to stop it. - The recording will be saved automatically in the “Videos” folder inside the “Captures” folder (by default:
C:Users[your_user]VideosCaptures). - It will also be copied to the clipboard and a preview window will open so you can trim or share it.
- Click the “Stop” button (red square) on the floating toolbar or press
Important notes:
- The Snipping Tool only allows you to record the screen, not the webcam.
- Recordings are saved in MP4 format.
- If you can’t find the recording option, make sure your Windows 11 is up to date. Screen recording in Snipping Tool was introduced in a recent update.
Alternative: If you don’t have the recording option in Snipping Tool:
- You can use the “Xbox Game Bar” tool (press
Win + G), which also allows you to record any window or screen, not just games. - Other third-party tools such as OBS Studio (free) or Camtasia (paid).
I hope this is helpful to you. Good luck with your recording!