
Did you know that your Mac has super powers hidden to capture the screen? It’s not a secret to everyone, but the keyboard shortcuts that let you take screenshots are something every user should master. Let me tell you the tricks to become an expert and unlock the multiple ways to take screenshots on your MacBook or iMac. Ready to find out? <a href="https://www.empresadeserviciosweb.com/post/como-puedes-borrar-photos-de-google-fotos-sin-tener-que-eliminarlas/”>How you can delete photos from Google Photos without having to remove them <a href="https://www.empresadeserviciosweb.com/post/capturar-pantalla-windows-10-11-sin-programas-2025-teclas-atajo-herramienta-recortes/”>How to take a screenshot on Windows 10 and 11 Without Programs 2025 Windows Screenshot 2025: ALL the Methods IN 1! .
First, let’s talk about the classic: if you want to take a screenshot of the entire screen, simply press Command + Shift + 3. In an instant, your Mac will save the image to your desktop with an automatic name. It’s like magic, right? But wait, there’s more.
If what you need is to capture only a specific part of your screen, use Command + Shift + 4. The cursor will change to a crosshair and you’ll be able to select the exact area you want to save. It’s perfect for those moments when you only need a small section, like a chart or a snippet of text. See how practical it can be?
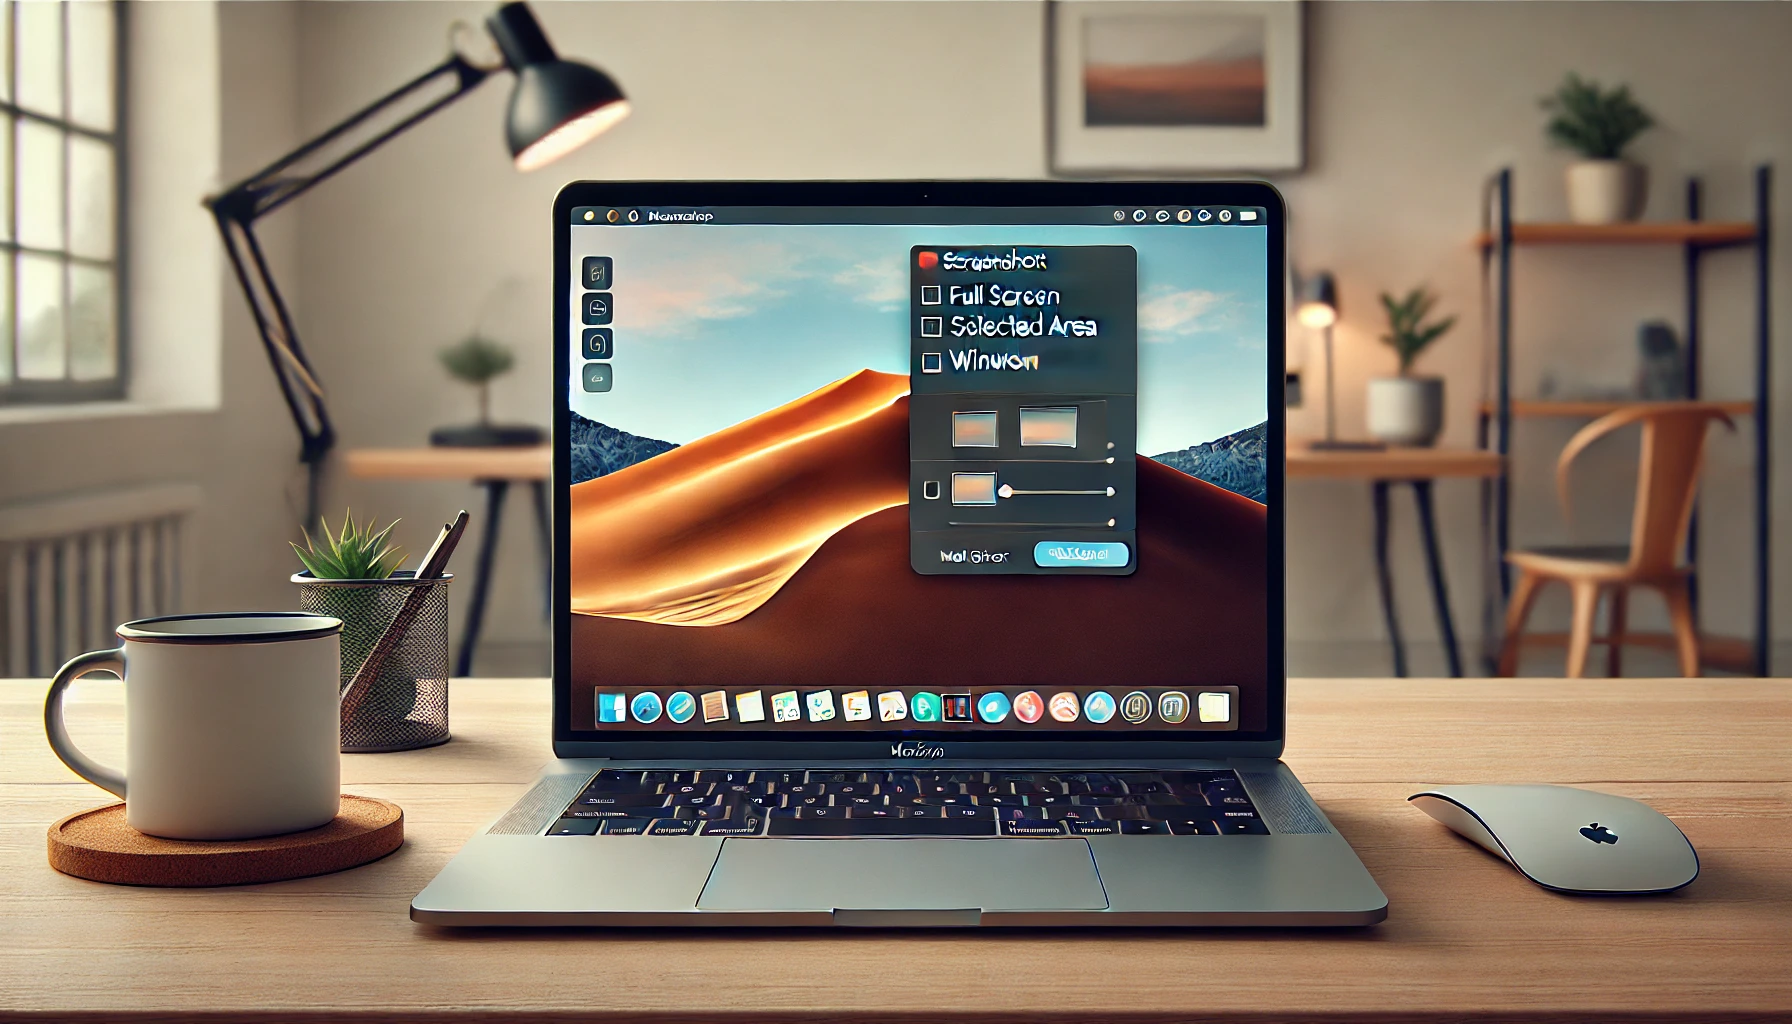
Now, here comes the ultimate trick: Command + Shift + 5. This command opens a complete screenshot tool in macOS. You can choose between capturing the entire screen, a specific window, or even recording your screen as video. Additionally, this feature lets you decide where to save the screenshots, so you don’t have to desperately search on the desktop. It’s like having a mini editing studio at your keyboard’s fingertips.
And what if you want to share a screenshot quickly? Recent screenshots are temporarily stored in the bottom right corner of the screen. Click on the thumbnail to open it, edit it, or send it directly by email or message. It’s an incredibly useful feature for collaborative work or to impress your friends with your Mac skills.
By the way, did you know you can change the format of screenshots? By default, macOS saves images in PNG format, but with a simple terminal command you can change it to JPG or PDF, depending on your needs. This is ideal if you want to optimize the file size or adapt it to a specific project.
Learning how to take a screenshot on Mac is not only easy, but it opens up a range of possibilities to work and share more efficiently. So don’t wait any longer, try these shortcuts and make your Mac work for you. What will your next epic screenshot be?